
⚠️ This article is outdated, please see the Middleman on Heroku – 2017 edition post for a more up to date guide on how to deploy Middleman sites to Heroku.
In case you haven’t heard of it yet, Middleman is a Rack-based static site generator built in Ruby. It’s super nice to use, but deploying it to Heroku can bit of a black art.
This guide assumes a few things:
If you don’t have it yet, you should install Middleman on your development machine:
gem install middleman
For more details on this step, read the the Middleman documentation.
Generate a new skeleton Middleman app with a name of your choice (I chose clever_like_a_fox)
middleman init clever_like_a_fox
This will generate a ton of output, like this:
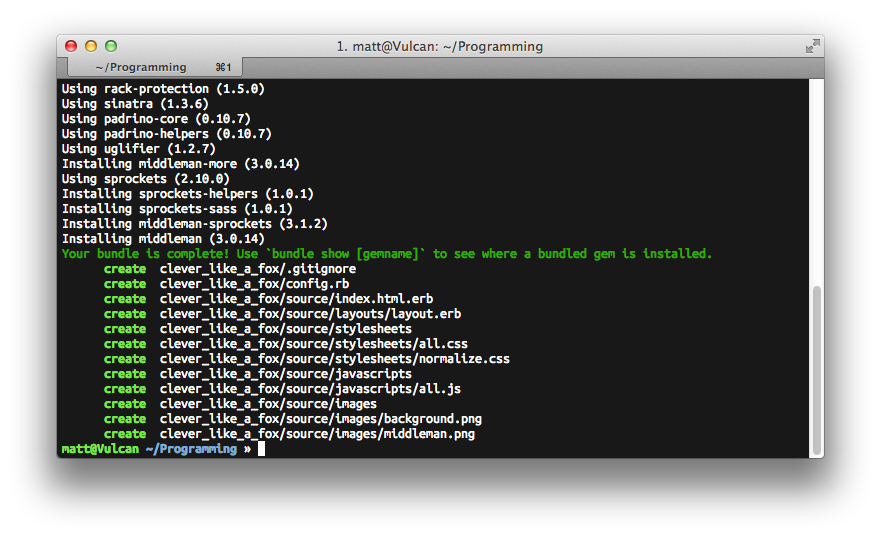
Ignore this for now, and just do cd clever_like_a_fox and open the project directory in your editor.
GemfileModify the Gemfile to look something like this (the Middleman version may vary):
# If you have OpenSSL installed, we recommend updating
# the following line to use "https"
source 'https://rubygems.org'


ruby "2.0.0"


gem "middleman", "~>3.0.13"
gem "rack-contrib"
gem "puma"
As you might notice, three lines have been added (ruby "2.0.0", rack-contrib, and puma). If you’re not using Ruby 2.0.0, you should set the Ruby version to the correct version.
Finally (for this step), run bundle install in terminal.
config.rb fileNext, we want to configure our app so that we get pretty URLs (no .html at the end).
In the config.rb file, around line #50, above the set :css_dir and set :js_dir lines, add the following:
activate :directory_indexes
Save your changes…
We need to be able to give our users a nice error page if they go to a URL that doesn’t have content, so let’s create a simple 404 page file in the source folder (source/404.html):
<!DOCTYPE html>
<html>
  <head>
    <meta charset="utf-8" />
    <title>Page not found</title>
  </head>
  <body>
    <p>The content you were looking for cannot be found.</p>
  </body>
</html>
Once again, save your changes.
config.ru fileWe’re almost there, just a little bit of configuration left!
Create a config.ru file in the root of your project and paste in the following code:
require "rubygems"


require "rack"
require "middleman/rack"
require "rack/contrib/try_static"


# Build the static site when the app boots
`bundle exec middleman build`


# Enable proper HEAD responses
use Rack::Head
# Attempt to serve static HTML files
use Rack::TryStatic,
    :root => "build",
    :urls => %w[/],
    :try => ['.html', 'index.html', '/index.html']


# Serve a 404 page if all else fails
run lambda { |env|
  [
    404,
    {
      "Content-Type" => "text/html",
      "Cache-Control" => "public, max-age=60"
    },
    File.open("build/404/index.html", File::RDONLY)
  ]
}
Again, save your work.
ProcfileCreate a new file called Procfile in the root of your project with the following contents:
web: bundle exec puma -p $PORT -e $RACK_ENV
Woot! Almost there.
Add this line to the .gitignore file in the root of the project:
/tmp
Run git init . in the root of your project, then commit all the project files:
git add .
git commit -am "Initial commit"
Create a new app on Heroku:
heroku create
Deploy your code to Heroku:
git push heroku master
Open the URI given to you by Heroku, or run heroku open in terminal in order to open the site in your default browser.
You should be greeted by a site that looks something like this:

Heroku recommends using Unicorn to serve Ruby/Rack apps, but I chose Puma instead as it is simpler to configure. This will probably work well for most use cases.
The source code for my sample app is available on GitHub: matiaskorhonen/middleman-on-heroku. The code changes after each step have been tagged, in case you want to browse through the history.
By the way, you should also take a look my hobby project, Piranhas.

You might remember my blog post on speeding up builds on Travis CI by caching the bundled gems to S3.
This strategy is now even easier thanks to Eric Barendt. He packaged up my scripts as a handy gem: bundle_cache.
In addition to not needing to copy-paste the scripts into your project, I also switched out the dependency on fog to aws-sdk. This reduces the number of dependencies needed on install and thus speeds up builds even further.
As an aside: You should also take a look my hobby project, Piranhas.
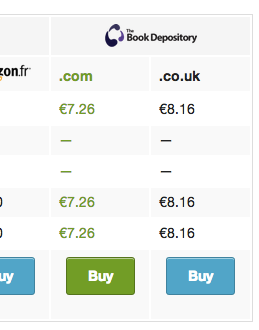
Piranhas now has bookdepository .co.uk support!
Piranhas already had support for bookdepository .com, but I recently learned that the .com and .co.uk Book Depository sites actually have slightly different pricing (despite looking almost identical and sharing the same user accounts).
This is of course in addition to the existing support for Amazon.com/ .ca/ .co.uk/ .de/ .fr (and now the two Book Depositories).
Piranhas searches through five Amazon country-specific stores and the Book Depository to find the cheapest source for your books. It does all the necessary currency conversions and shipping calculations, so you don’t have to.
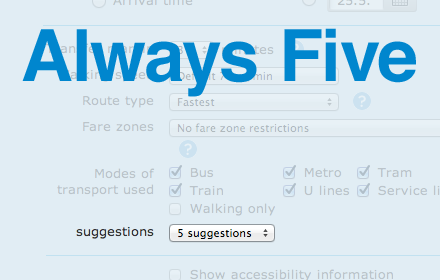
Tired of having Reittiopas (the Helsinki public transportation route planner) only show you three route suggestions by default? This extension makes sure that five suggestions (the maximum possible) are always shown.
You can install it from the Chrome Web Store. [Note: This extension no longer exists]
The source code is available on GitHub: matiaskorhonen/always-five
P.S. If you haven’t already, check out Piranhas. Piranhas searches through five Amazon country-specific stores and the Book Depository to find the cheapest source for your books and does all the necessary currency conversions and shipping calculations, so you don’t have to.

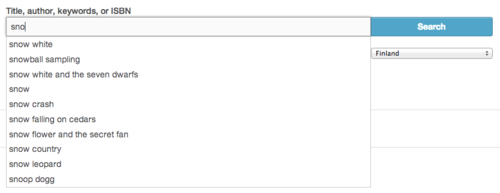
I just added search suggestion support to Piranhas, so head over there and try it out.
Piranhas searches through five Amazon country-specific stores and the Book Depository to find the cheapest source for your books. It does all the necessary currency conversions and shipping calculations, so you don’t have to.
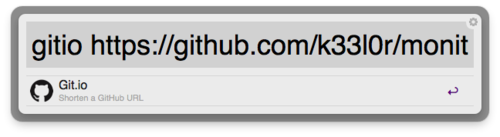
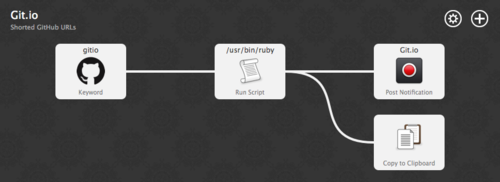
Shorten GitHub URLs with Git.io. Simply use the keyword gitio with the GitHub URL as the argument. The shortened URL is automatically copied to the clipboard.
Important: Git.io is NOT a general purpose URL shortener. It will only shorten github.com URLs.
Download: Git.io.alfredworkflow
P.S. If you haven’t already, check out Piranhas. Piranhas searches through five Amazon country-specific stores and the Book Depository to find the cheapest source for your books and does all the necessary currency conversions and shipping calculations, so you don’t have to.